

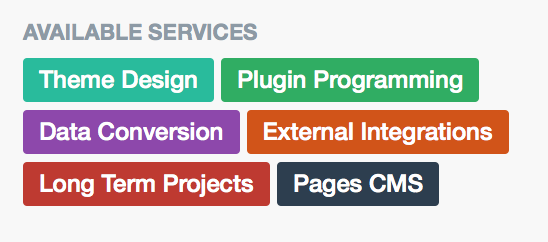
A nice way to present options with color coding. You might have seen it on the IPS providers page or bug tracker pages made with IPS 4.x.
So how is this done?
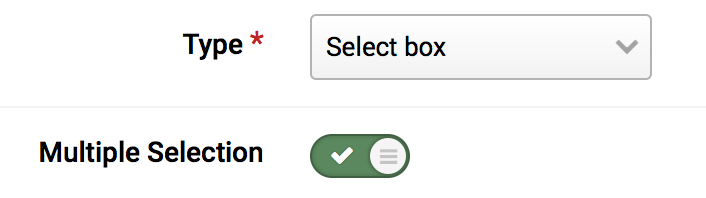
First, set up a Pages field with the type “select box” and also activate “Multiple Selection”.
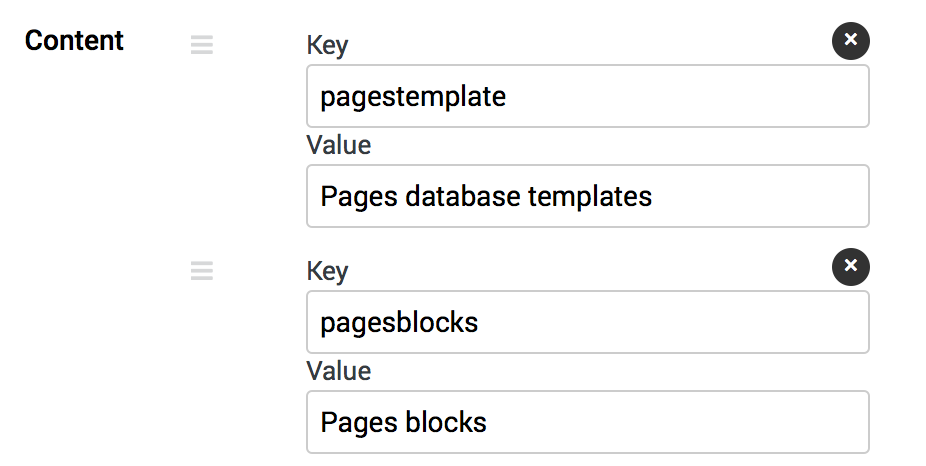
Now add the options you want to offer. Add a key (used as internal identifier) and a value, which is what will be shown to the users.
Now head over to the Display Options tab. For “Listing View Format” and “Display View Format” we choose “Custom”. This opens a blank field to input our custom code. First, we should check if there even was a selection made for the entry. We do this by wrapping everything with:
{{if $formValue}}
// more to come
{{endif}}
By the way: $formValue is the raw field content stored for this field.
Now inside that IF query, we can check for specific keys and apply the color badges. But a simple IF query won’t work since we have a multi-select box field. We need to loop through all possible select entries the user might have chosen. And they are stored as comma-separed keys. So to loop through them, we do this:
{{$items=explode(',',$formValue);}}
{{foreach $items as $item}}
// more to come
{{endforeach}
Easy enough! Now we finally check for key values, like this:
{{if $item=="pagestemplate"}}
<span class='ipsBadge ipsBadge_new'>Pages database template</span>
{{elseif $item=="pagesblocks"}}
<span class='ipsBadge ipsBadge_style2'>Pages block template</span>
{{endif}}
If there is a key with the values “pagestemplate”, we output an IPS badge with the style “ipsBade_new” showing the words “Pages database template”. Then we check for the next key. In the example above that’s “pagesblocks”.
Now let’s put it all together. This is the final code you can put in your “Custom” box. You just need to adjust the key values and the output text.
{{if $formValue}}
{{$items=explode(',',$formValue);}}
{{foreach $items as $item}}
	{{if $item=="pagestemplate"}}
		<span class='ipsBadge ipsBadge_positive'>Pages database template</span>
	{{elseif $item=="pagesblocks"}}
		<span class='ipsBadge ipsBadge_negative'>Pages block template</span>
	{{elseif $item=="standalonewidget"}}
		<span class='ipsBadge ipsBadge_style2'>Standalone widget</span>
	{{elseif $item=="coreextension"}}
		<span class='ipsBadge ipsBadge_intermediary'>Core/theme extension</span>
	{{endif}}
{{endforeach}}
{{endif}}
The example above uses four options. You can extend this easily to seven options, since there are seven pre-defined badges:
ipsBadge_new
ipsBadge_style2
ipsBadge_warning
ipsBadge_positive
ipsBadge_negative
ipsBadge_neutral
ipsBadge_intermediary
Update for Invision Community 5
In Invision Community 5, replace the underscore with two hyphens, e.g. ipsBadge--negative
If you want more than seven colors, you would have to add your own CSS classes instead or override the colors locally like this:
<span class='ipsBadge' style='background-color:#FF0000'>Pages database template</span>
-
 1
1