

- Pages database template
SuperTimeline is a carefully crafted listing template for Pages databases. As the name suggests, it allows you to show Pages records as a timeline. The template is fully responsive, supports left-to-right or right-to-left websites and comes with lots of options for granular control of what is shown in the listing template.
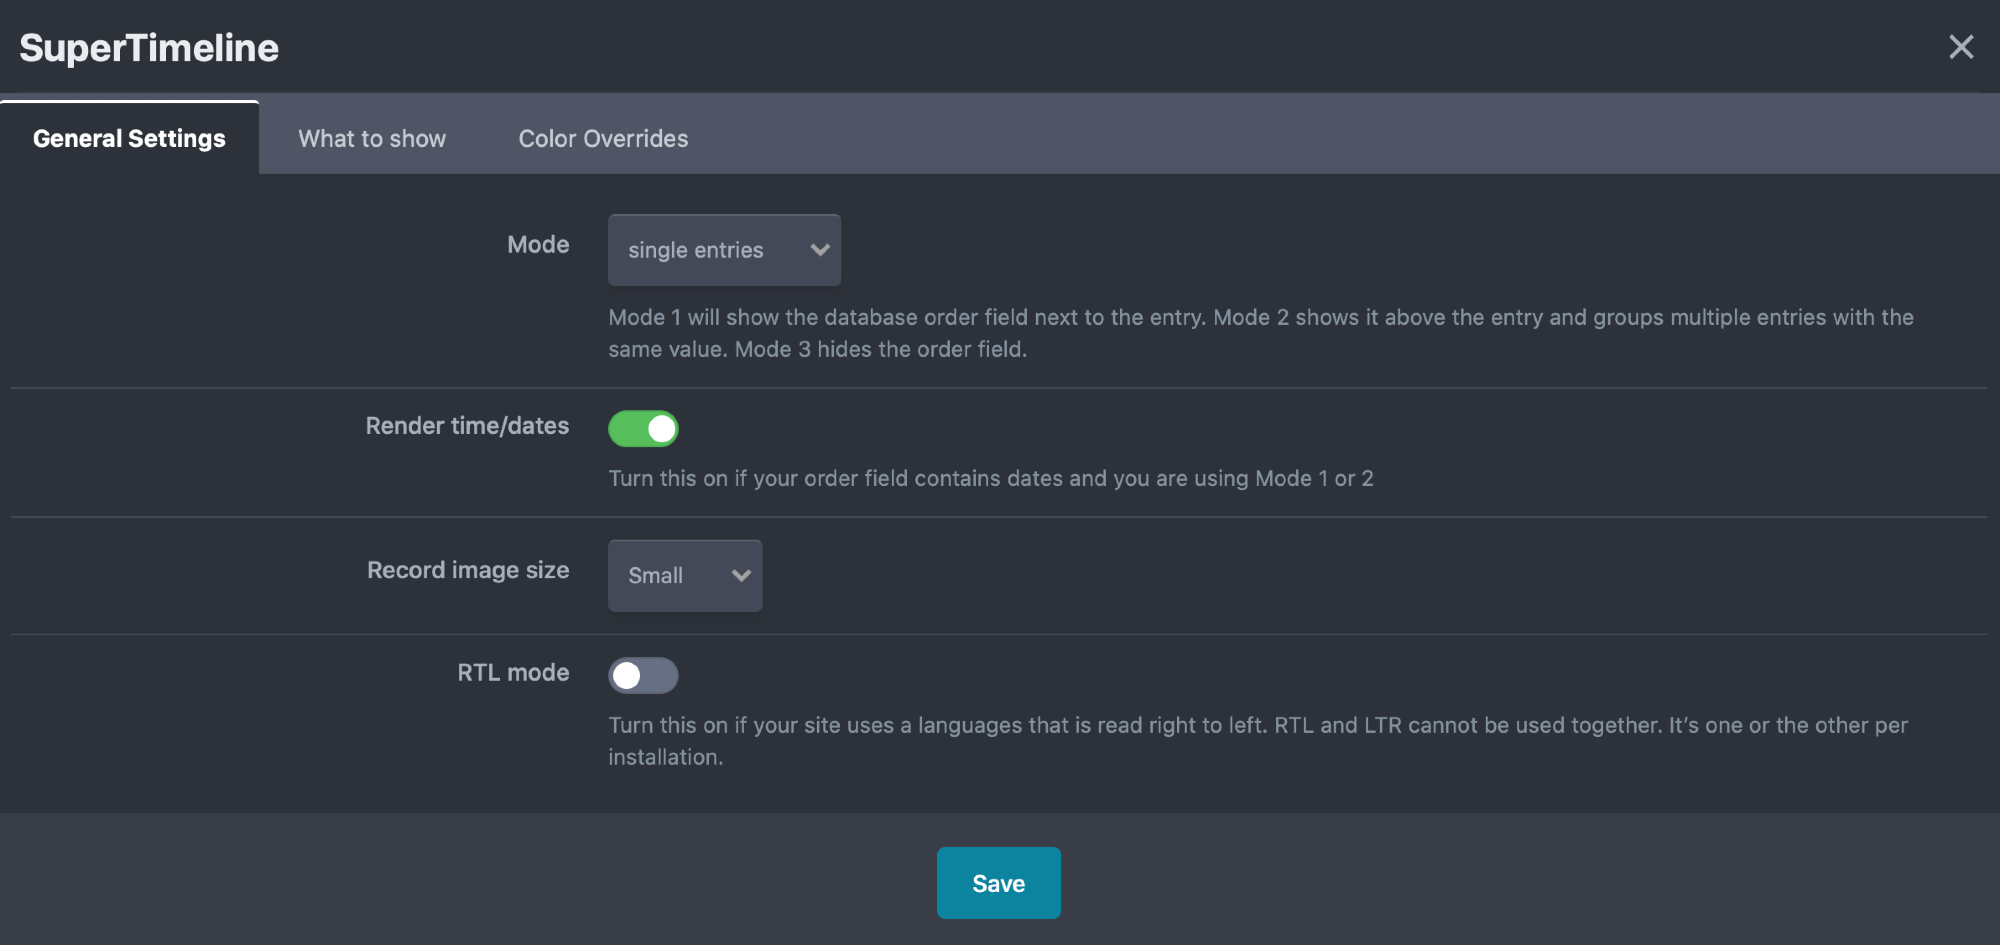
The template has 3 modes:
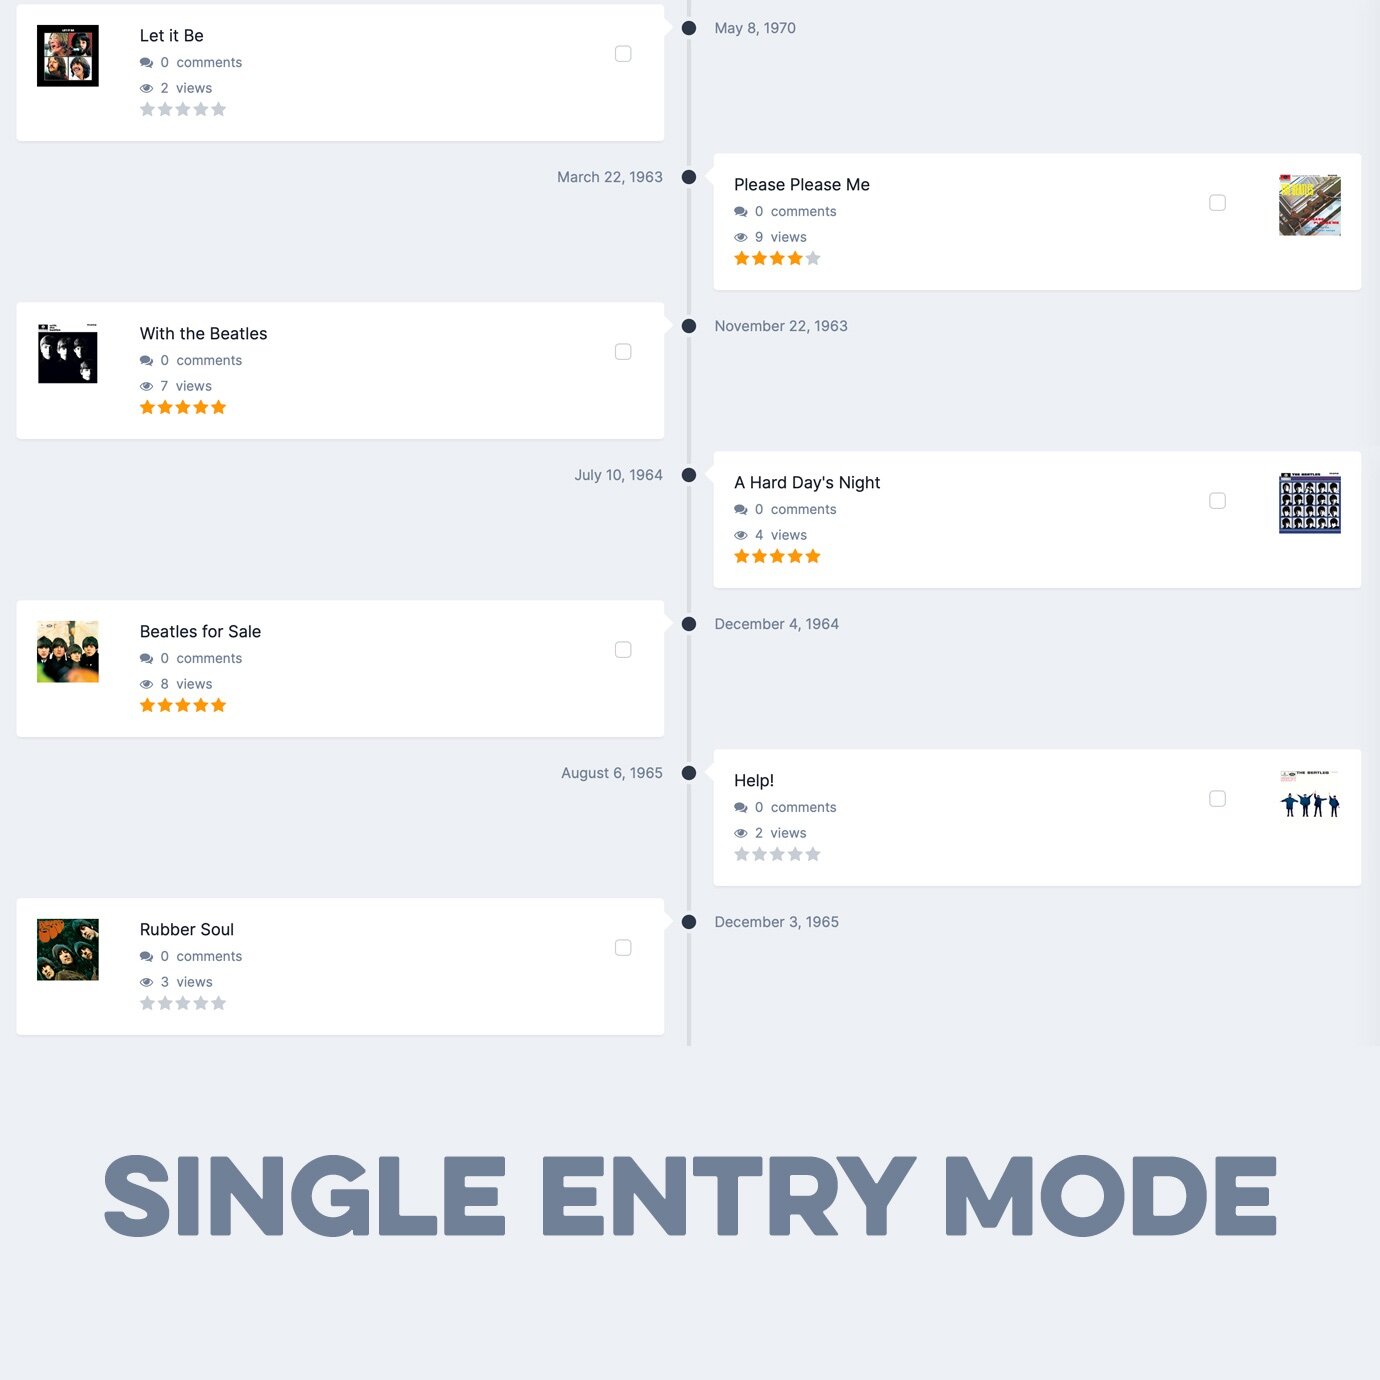
Mode 1 will show the database order field next to the entry. Perfect for entries representing events that happened on a specific day.
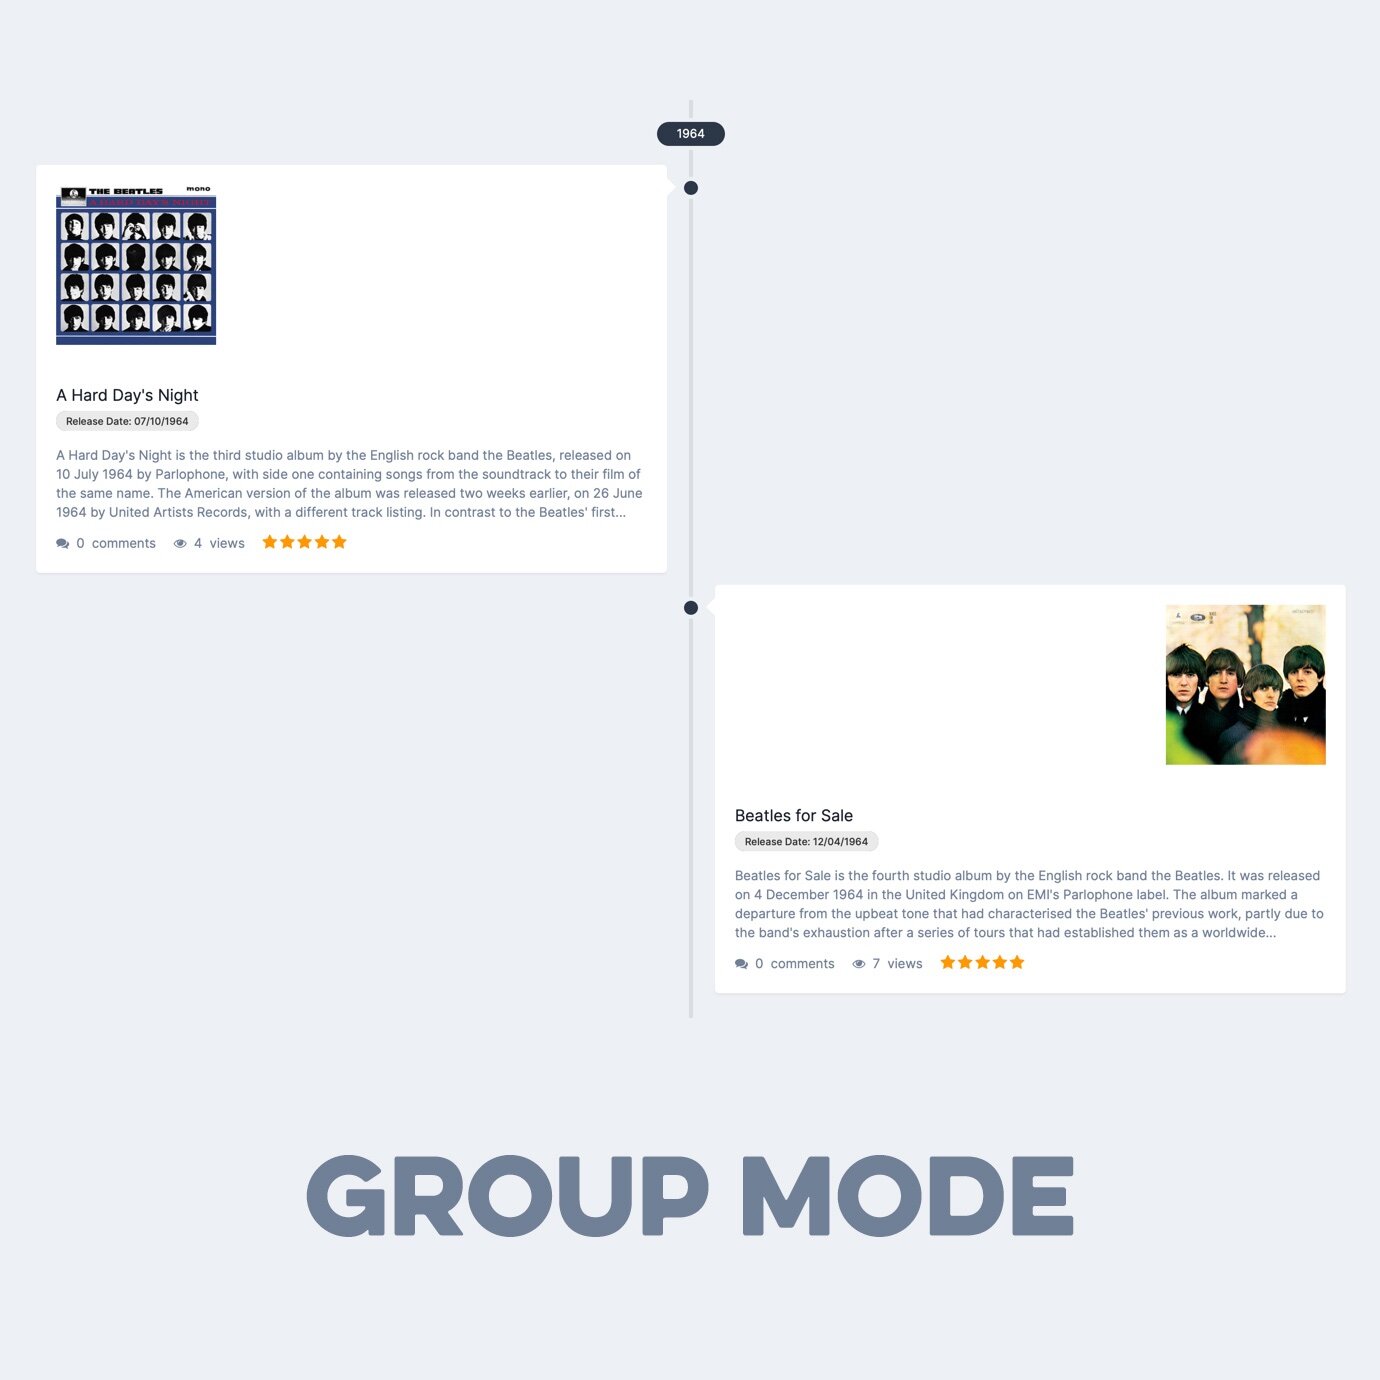
Mode 2 shows the database order field above the entry and it will group multiple entries with the same value. (For example: you can group entries which belong to a certain year or month.)
Mode 3 hides the order field.
What’s required:
Invision Community 4.x with the Pages application and access to Pages Databases.
List of Features:
Set Mode
Feature Single Entries
Group Entries
No highlighting
Render time/dates
If your order field is a timestamp, you need to turn this on to show it as a date. Alternatively, you can also use other custom fields as order fields, e.g. a number field for years, months or combinations of the two .
Record image size
small, medium or large
RTL mode
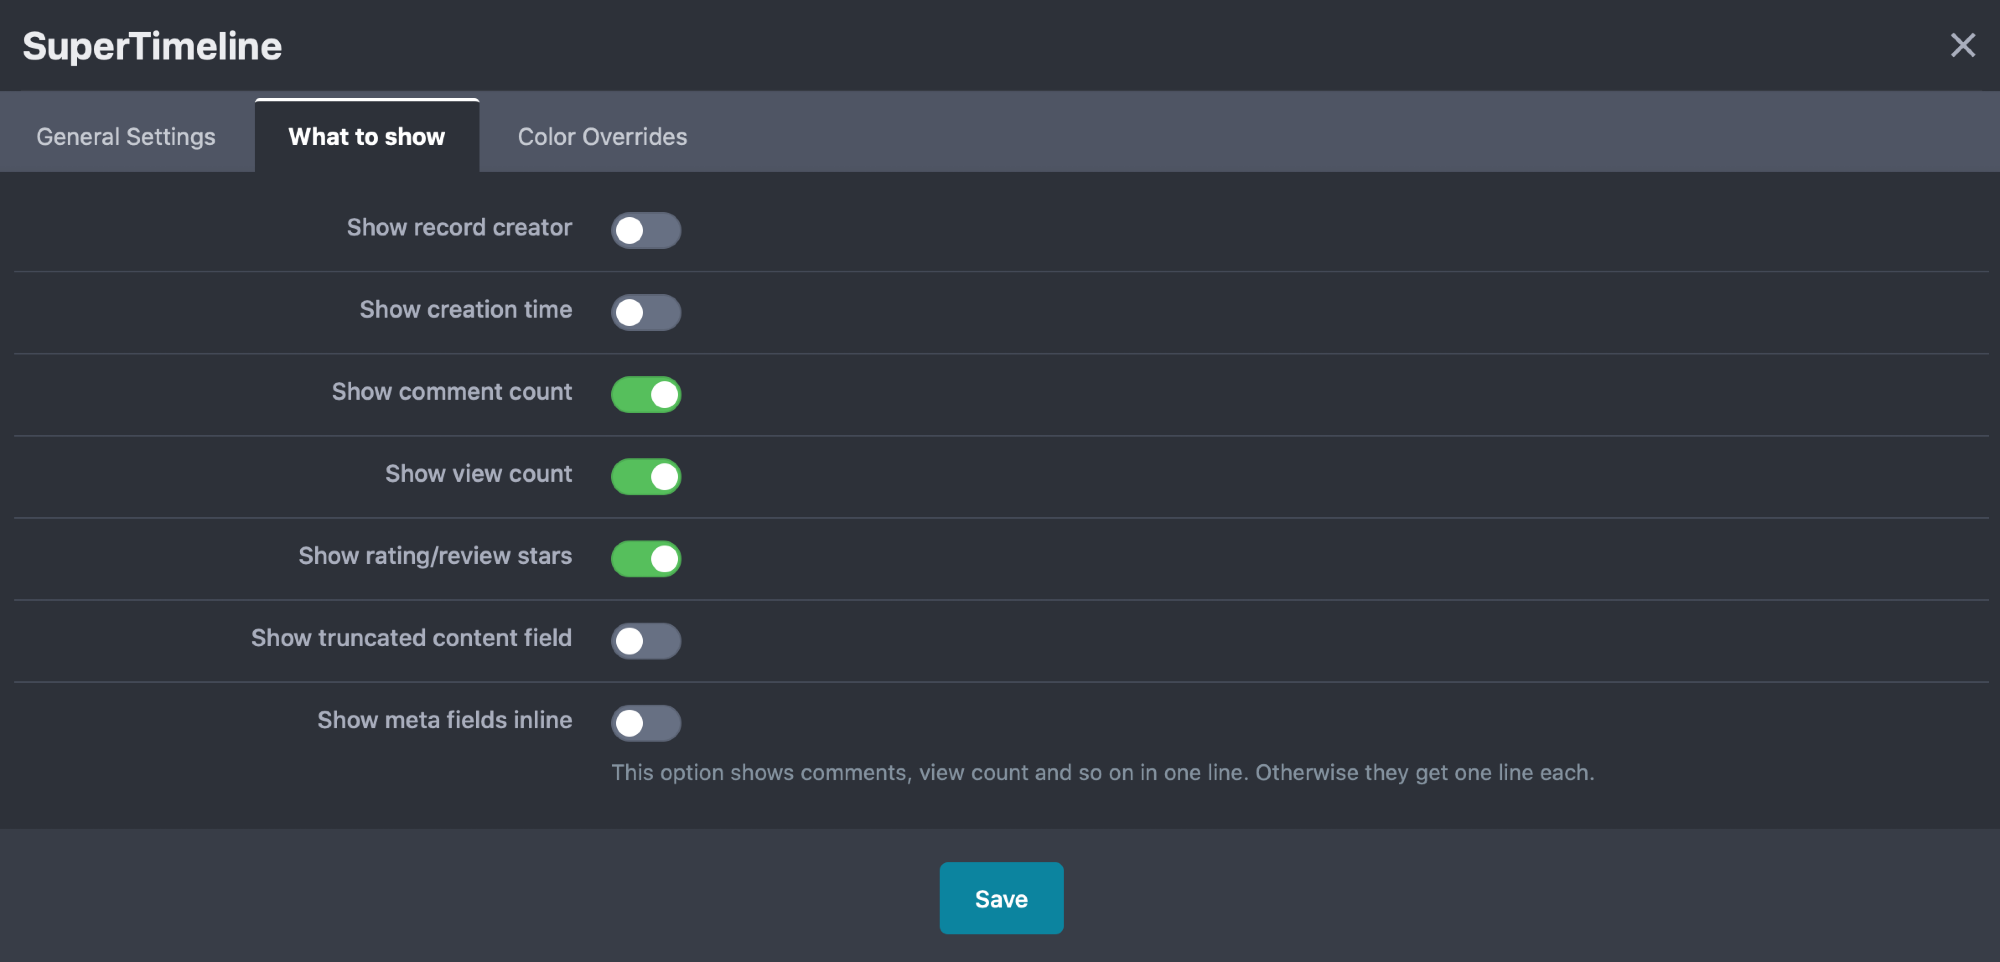
What to show in each card
Show record creator
Show creation time
Show comment count
Show view count
Show rating/review stars
Show truncated content field
Show meta fields inline or on one line each
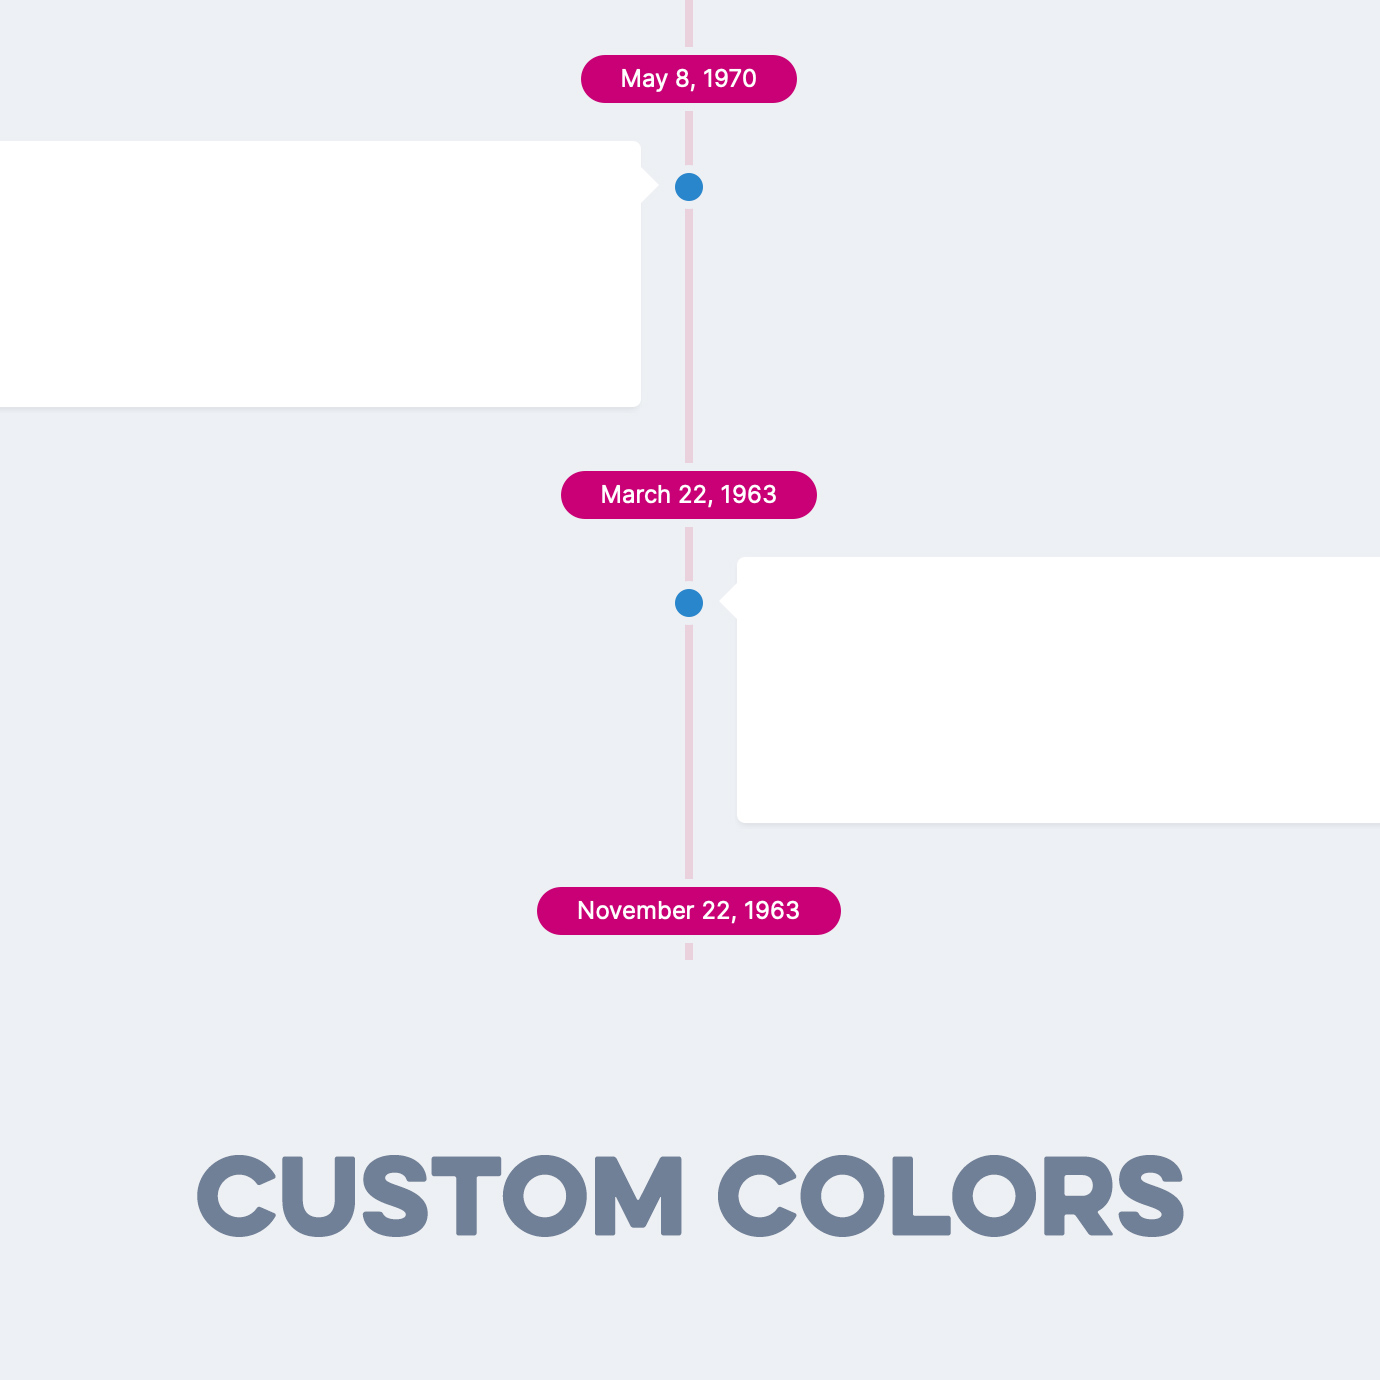
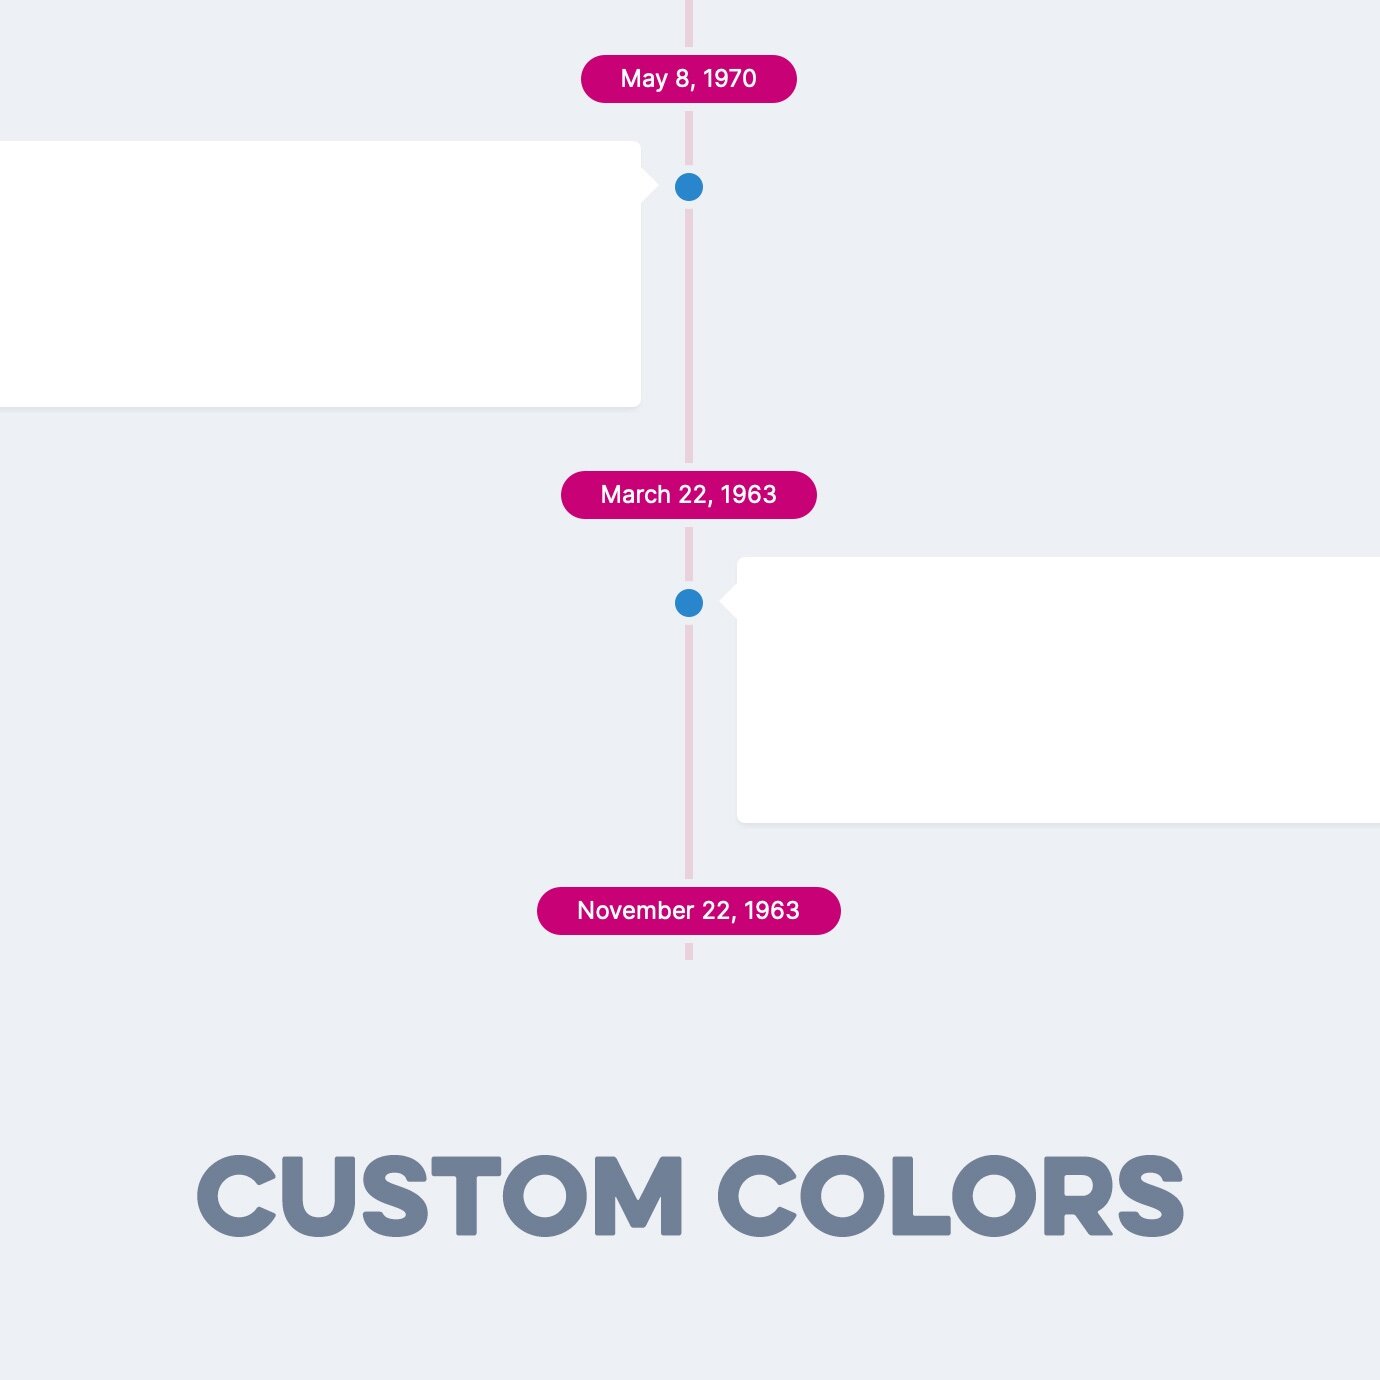
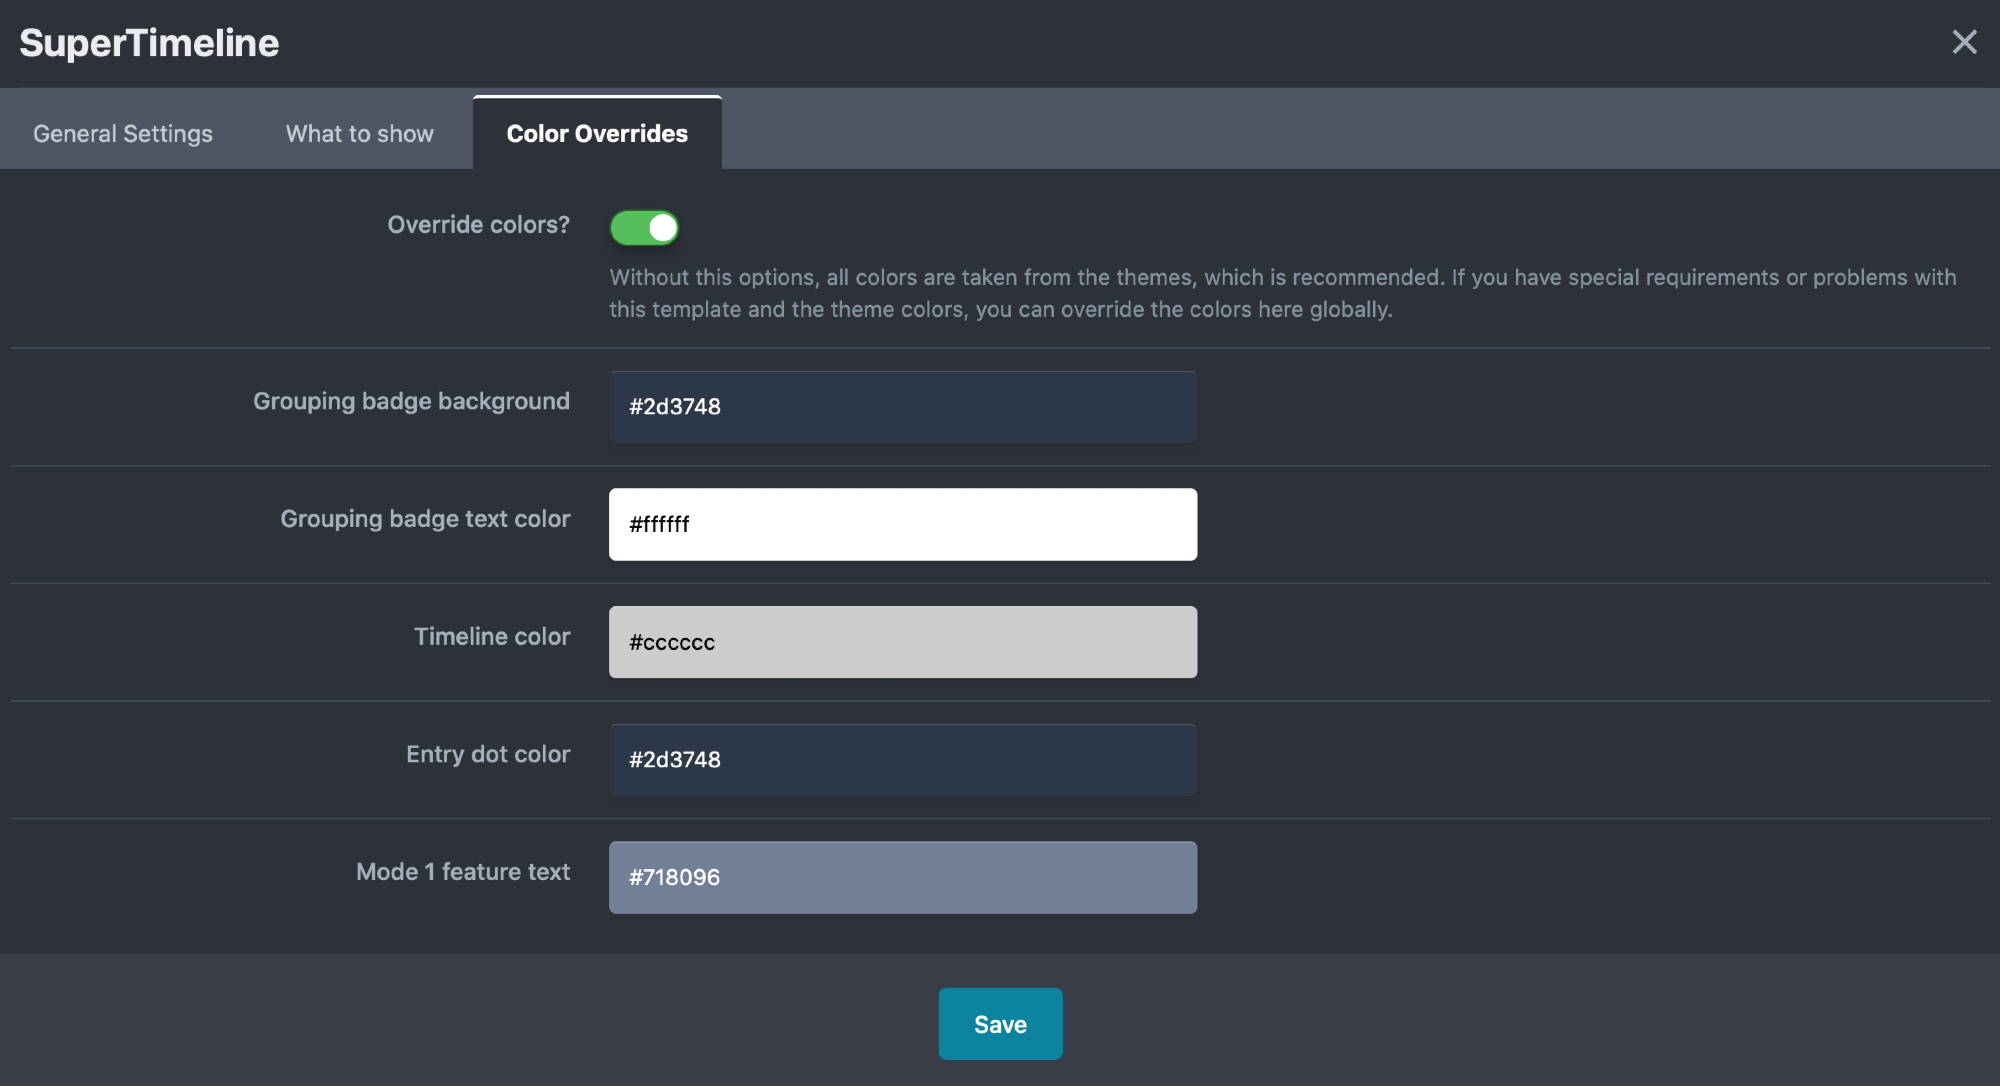
Override theme colors?
Grouping badge background (mode 2)
Grouping badge text color (mode 2)
Timeline color
Entry dot color
Feature text (mode 1)
Installation & Usage Instructions
Installation and Setup
Install the SuperTimeline plugin through the ACP Plugin section.
Create a new Pages database if you don’t want to apply the template to an existing one
Create a custom field for the Pages database that can be used as an ordering field, e.g. a date field or a number field.
Open the settings for the Pages database
On the Details tab, scroll down to “Listing Template Group” and pick “Supertimeline Listing”.
Switch over to the Options tab and go to Field Options → Order. Select the ordering field you created earlier and the sorting direction.
Add your database to a Pages page if you haven’t done so already and start adding records through the front end or the ACP.
To fine tune the layout, go to ACP → System → Site Features → Plugins → SuperTimeline and click the Edit button.
Notes:
You can add the template to as many Pages databases or Pages database categories as you like, but all options set through the plugin will apply to all SuperTimeline templates.
The ordering of the listing entries is entirely defined through Pages. It is up to you set up an order field that works with Pages. Hint: If you use the grouping option, the ordering within the group will be by record ID, so you need to create the records in the right order.
Custom fields can be turned on or off through the settings of each field (“Show in listing template”).
The template works on both RTL and LTR sites, but it only supports one or the other. It will not work on sites that have several languages with different reading directions.