
When you set up Apple Pay through Stripe as a new Commerce payment method, you will notice that Apple requires an identification file to be hosted on your website. But what if you don’t have access to the file system, e.g. because you are using IPS’ cloud offer? Well, you can also host the file through the Pages app. Here is how:
First, set up the payment method in the Commerce settings using your Stripe credentials. Under the Apple Pay field, there will be a link to “register your domain” with Stripe. Open it in a new tab and save your Stripe settings.
Still in the ACP, open the pages section and create a new folder called “.well-known”. (Yes, the dot is necessary.)
Create another folder called “apple-developer-merchantid-domain-association”. Make sure to select the “.well-known” folder as parent!
Now create a “Manual HTML” page inside the sub-folder. Call it “index” and give the filename “index” as well. Make sure to turn off “Use suite HTML wrapper”. The Page Wrapper should also be set to “none”. Save the page.
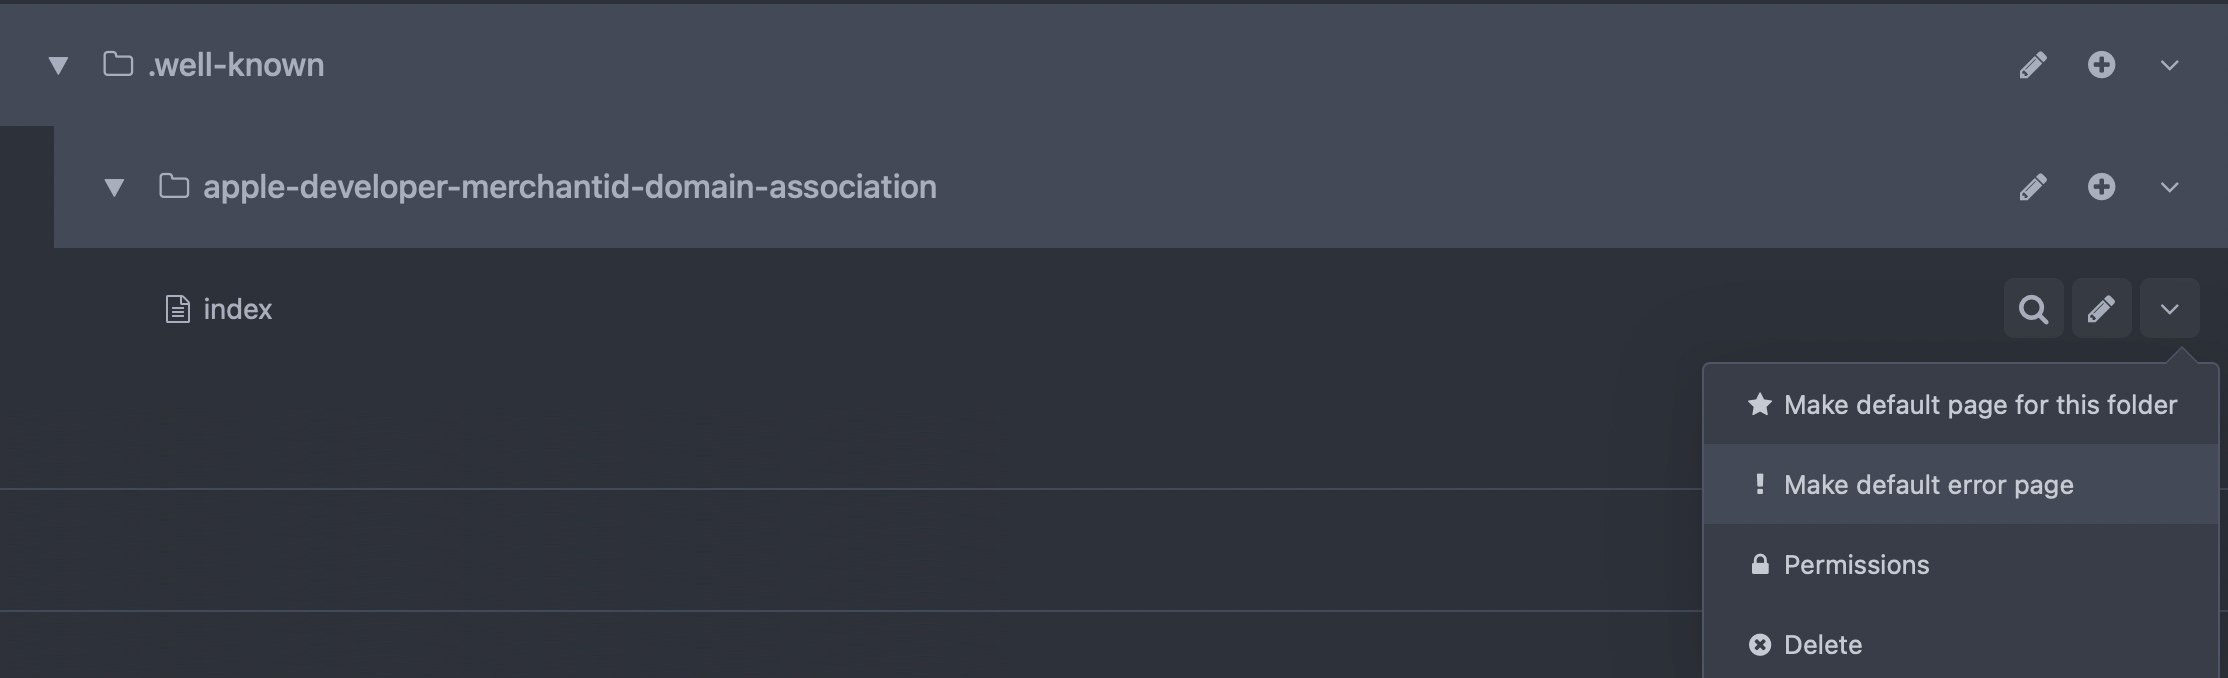
On the right, open the page options and choose “Make default page for this folder”.
Switch to the Stripe tab and click “Add New Domain”. Enter your domain. Make sure there won’t be any forwarding. If your website uses “www”, you need to add that as well.
Now download the verification file and open it in an editor. Copy the text from inside the file.
Go back to the ACP and add the content of the file to the page that was just created and save it. Test the URL in your browser. So, https://www.yourdomain.com/.well-known/apple-developer-merchantid-domain-association should directly return the apple verification string and nothing else.
Once that is working, click “Add” on the Stripe page. Stripe will try to access the verification page and if it was found, Apple Pay will be working now. If there was an error, follow the instructions given by Stripe.